| PRODUCT | SUPPORT | DOC |

|
A few words from our CEO |
|
"This end of the year we released several maintenance versions of XStudio 9.
But most of the team was working hard on XStudio 10 so that we can deliver a first beta just now! - Eric Gavaldo |
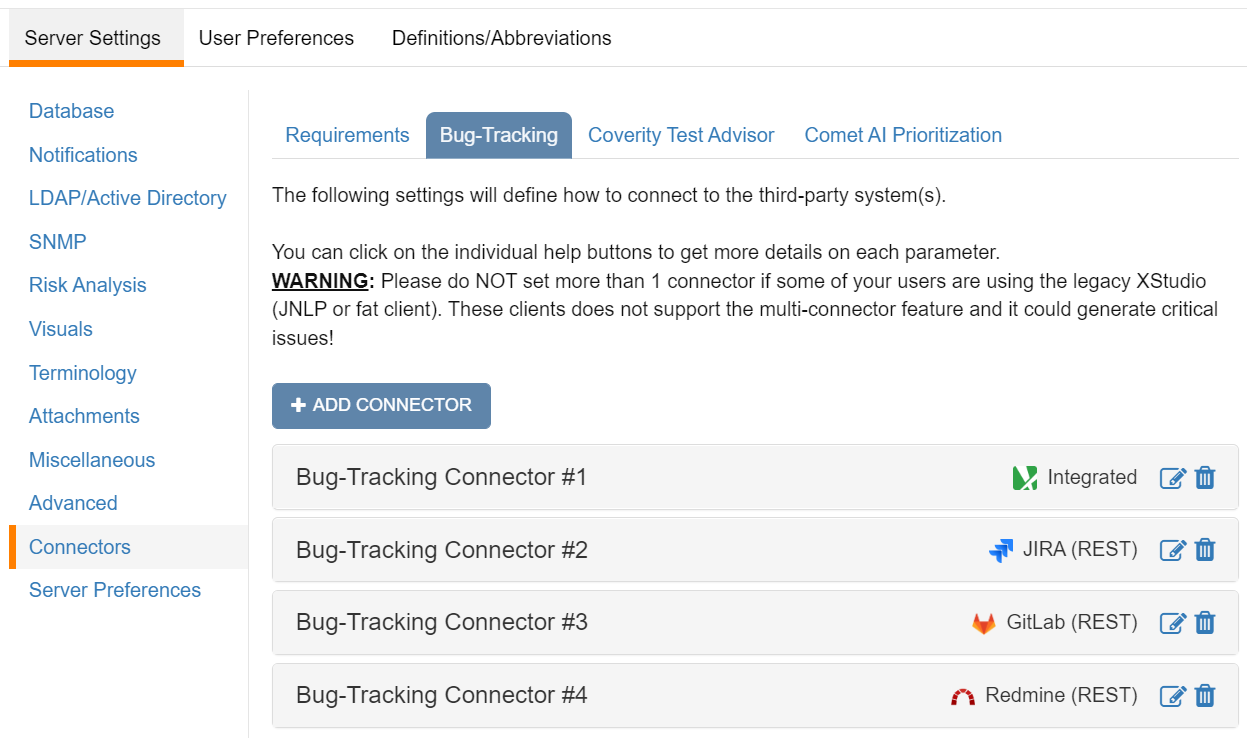
NEWSBetter JIRA integrationAs you know, our integration with JIRA is one of the better on the market. It's a both-way integration allowing to manage JIRA issues from XStudio. JIRA issues are fetched real-time based on some filtering rules you set. We improved it again through several points: Ability to additionally filter on a custom JQL clause Before the latest changes, issues were fetched and screened out based on different attributes: 1) Project filtering 2) Issue types filtering 3) Issue status filtering 4) Per-user credentials But you can now also specify a custom JQL clause to refine again what you want to see from JIRA in XStudio. This can be configured directly in your JIRA connector settings panel. First select the connector (you can have several connectors running simultaneously, you can even use several JIRA connectors pointing to different JIRA instances):
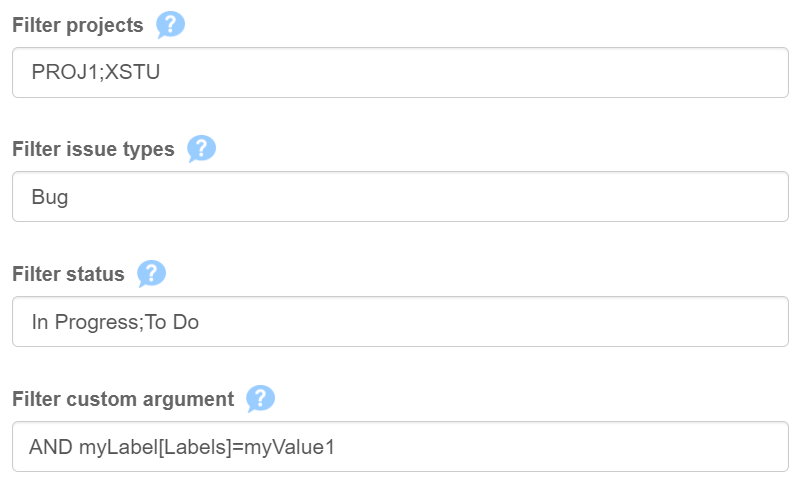
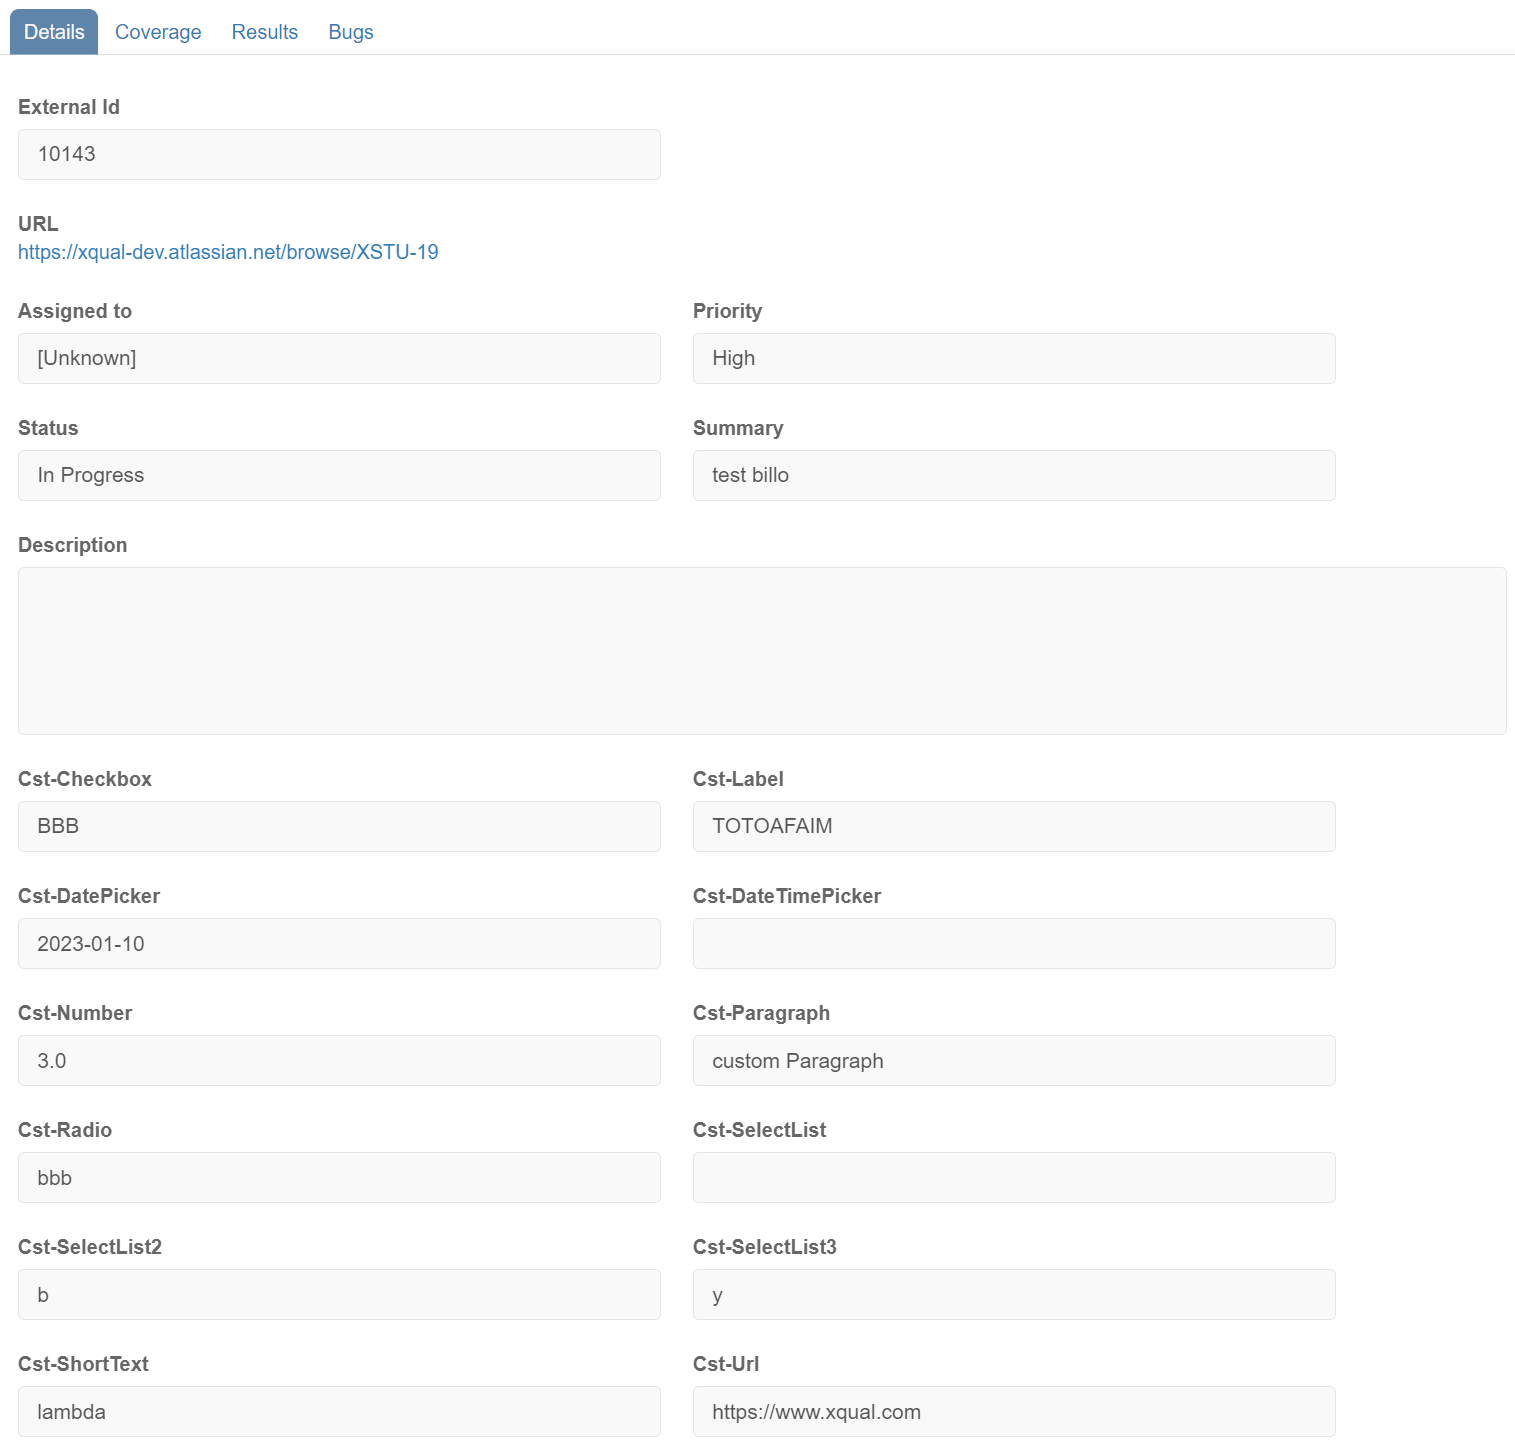
For JIRA, the new Filter custom argument parameters can take a JQL clause portion such as: AND myLabel[Labels]=myValue1. In that example, we filter issues having custom field MyLabel with option myValue1 selected. ANY JQL clause portion can be used! Hence you can filter on any other issue's attributes or properties. Better management of JIRA custom fields Now you can select a list of custom fields you want to display in XStudio. You just need to provide the list of the custom field ids in the settings:
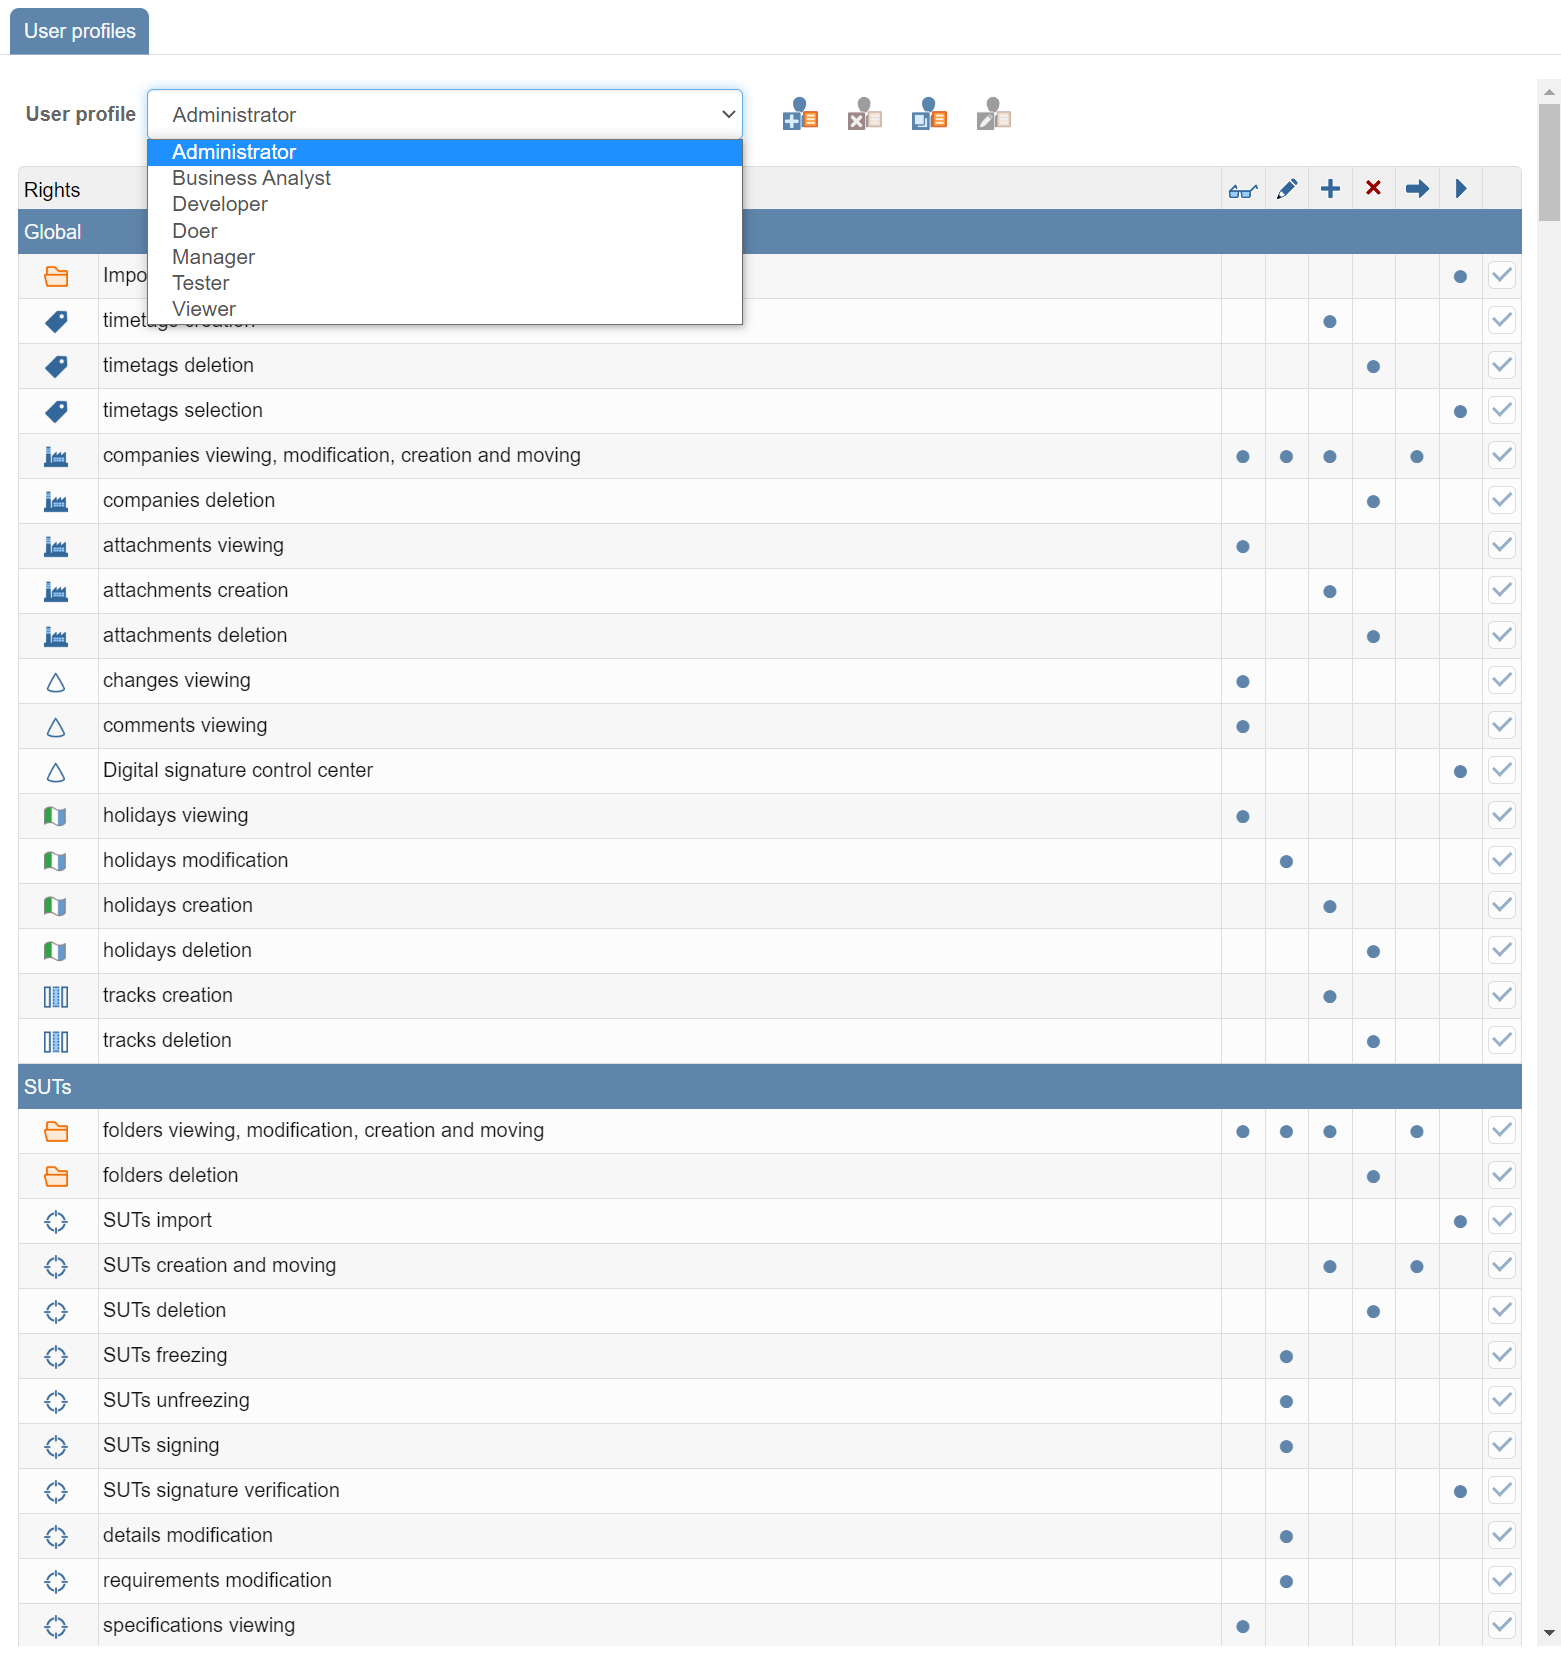
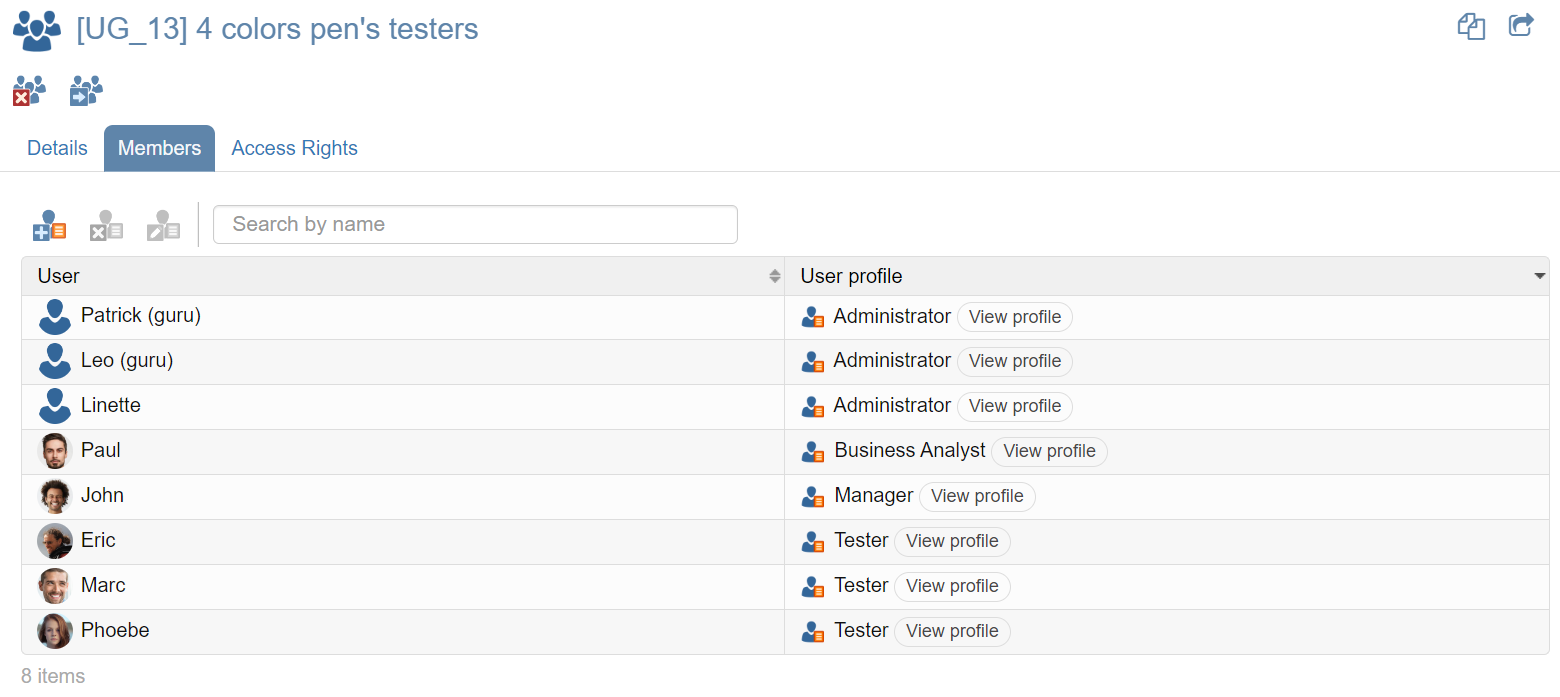
Multiple roles/profiles per team/project Until version 10, a user could have a unique profile and be a member of several teams. Now a single user can have several roles. A role is a profile associated to a team. In other words, a user can now have different profiles depending on which team is working for. Profiles are now managed globally. To Create, Delete, Modify or Copy profiles, you can just select the users tree root node and select the User Profiles tab:
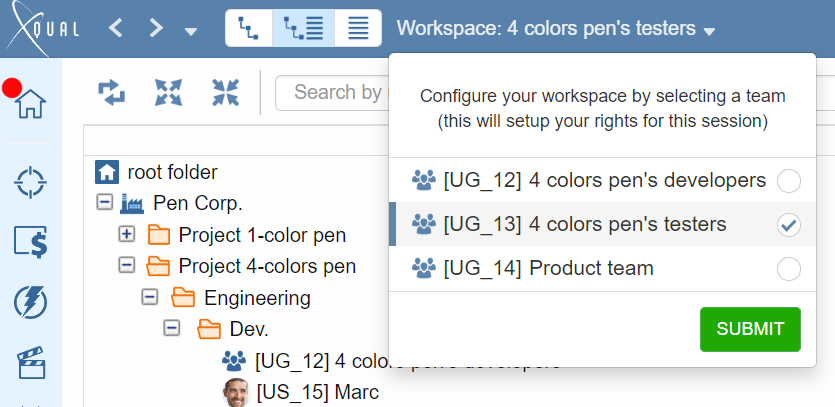
This is what will be used to calculate which profile (so what he/she can do) and which access-rights (what he/she can see) the user has for the session:
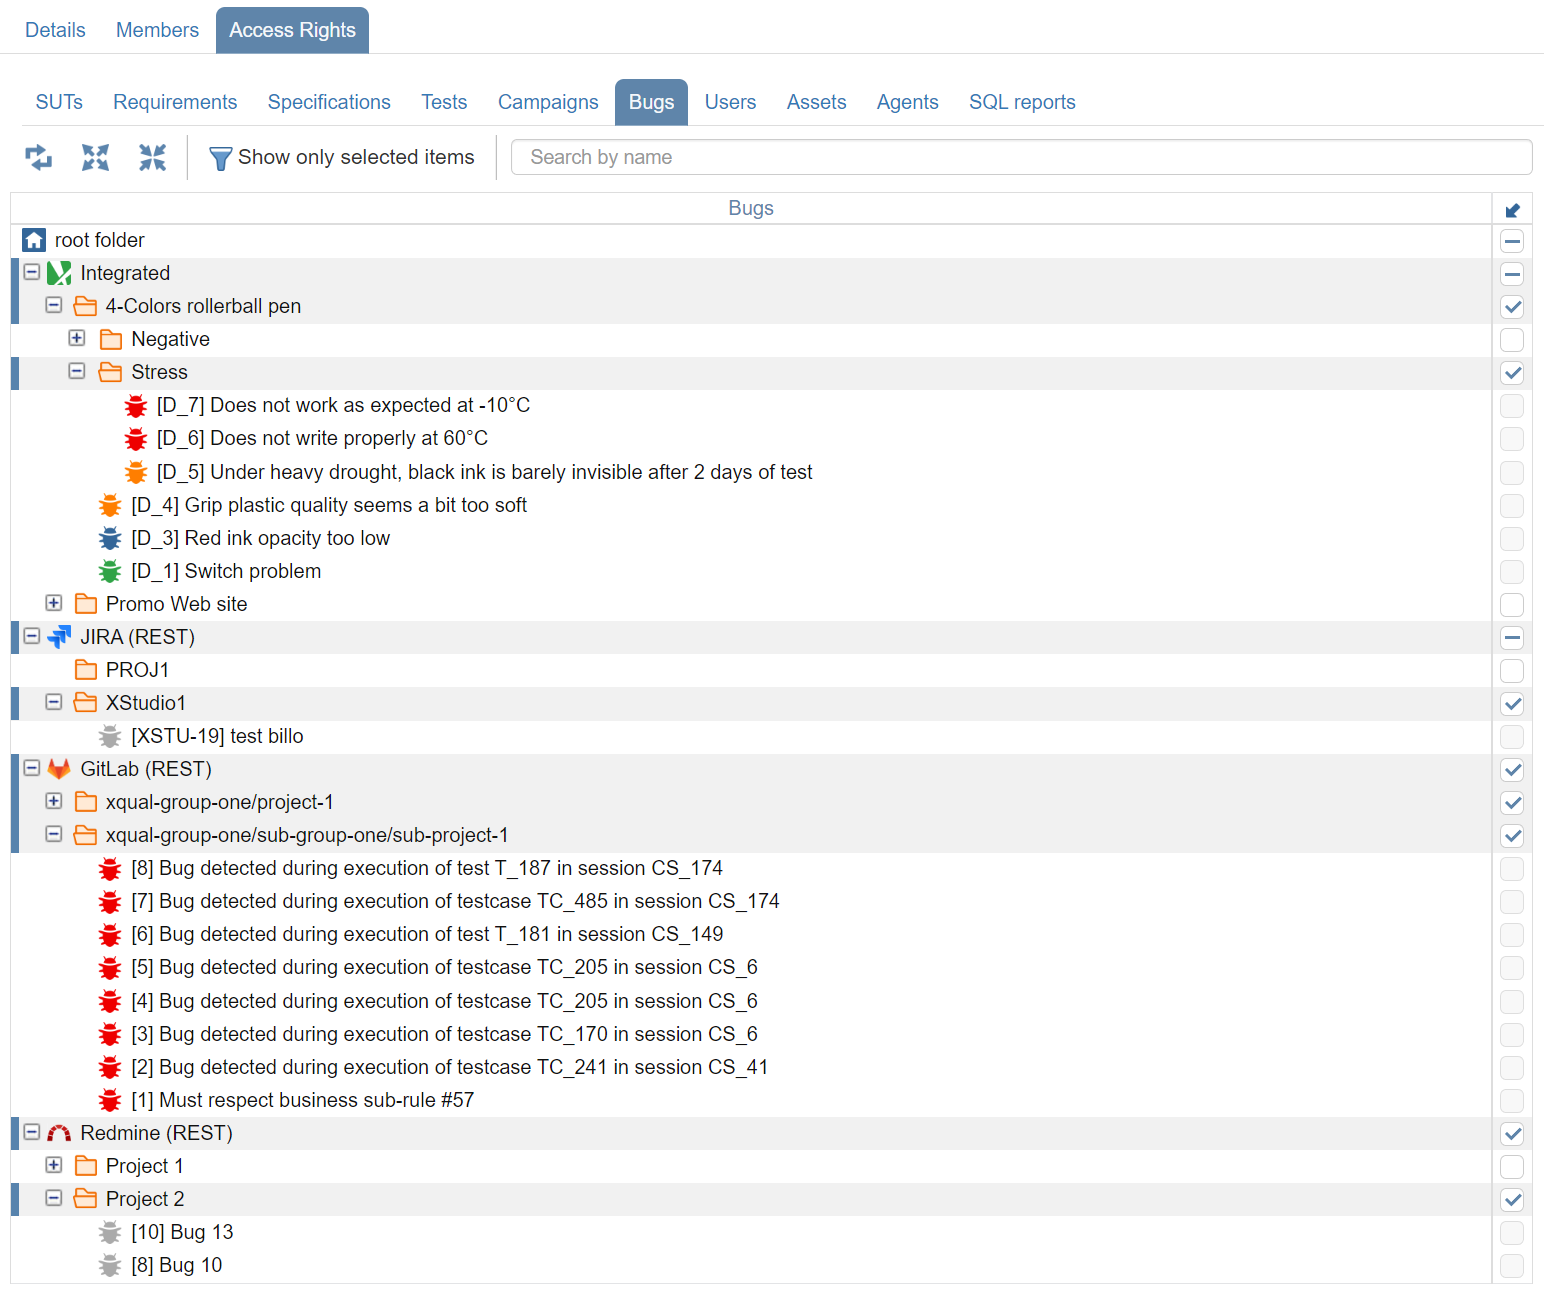
Access-rights on external connectors The access-rights settings in XStudio allow specifying in very much details which team can see what in the XStudio database. This has been opened in version 10 to connectors so that you can now define precisely which data a team can see also in any of the third-party systems.
Results publisher XStudio includes a powerful mechanism to execute automated tests/scripts locally or on some remote agents. However in some circumstances, you may need to execute your tests by other means and then import back the results to XStudio. We can have different situations such as: 1) The test execution is triggered by the continuous integration system (Jenkins, Bamboo, GitlabCI etc.) In this case, the best is to include in the build plan a call to XContinuousIntegration. This utility, provided within the XStudio fat client package, will request the creation and execution of a new session. A report is also returned to the Continuous Integration system. For more details: XContinuousIntegration documentation 2) The tests are manually executed from offline location In this case the best way is to export a campaign to Excel when connected to XStudio and to fill in the Excel file with results/comments while on site. Then, while back to the office you can reimport all the results and comments to XStudio by importing the Results Excel file. For more details: Data Import documentation 3) The test execution is performed by a third-party system (i.e. proprietary systems, batch scripts etc.) Until version 10 you had 2 ways to push the results to XStudio: i) Use the unitary methods from the XStudio's REST API
    authenticate()
    getSessionInstances()
    insertSessionTestcaseResult()
For more details about the REST API: REST API documentation Small example java client for beginners: Sample Java client ii) Use the REST API to import a full list of results
importResults()
You need to provide the Excel file in the body of the POST request For more details: Data Import documentation
Since v10, you can now use an independent utility available in the XStudio fat client package that makes the task much simpler!
XResultsPublisher is a simple command line tool (Java program so working on ANY OS) easy to use. You just need to provide your credentials to connect and the results/comments to push to XStudio for a specific testcase in a session: Usage: xresultspublisher.exe --restApiUrl For instance: xresultspublisher.exe --restApiUrl https://xstudio.acme.com/xqual/api --username admin --password adminpwd --sessionId 12 --testcaseId 34 --result 2 --messages "reason of the failure"
Et Voila!
...and as always, all those wonderful features work on ANY browser |
ROADMAPXStudio 10 will have soon a stable release and some service packs delivered with new low-risk features and bug-fixes.Please check our roadmap for more details. |
