Assets
The Assets
The Assets tree gathers all the assets you may need in your project life cycles. An asset can be virtually anything that has a cost and that can be necessary for your test activities. For instance, it can be:- Environments,
- Hardware components,
- Software
- Dataset
- Test rooms
- Meeting rooms
- Reusable objects
- etc.
Based on this information, if at run time, some assets are not available while they are required by some tests, these tests are skipped accordingly and marked as such.
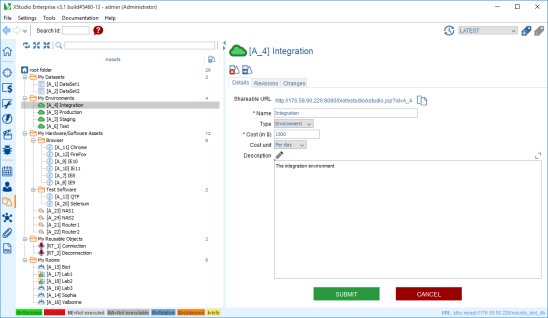
The root node
Toolbar
Create a folder
A folder can be created only under the root folder node or another folder node.Here is the process to create a new folder:
- select the root node
- on the right panel, click on the create folder button

- enter the name of the folder and submit
- the folder immediately appears in the tree
The folder node
Tabs
Details
The folder details tab allows one to specify the name of the folder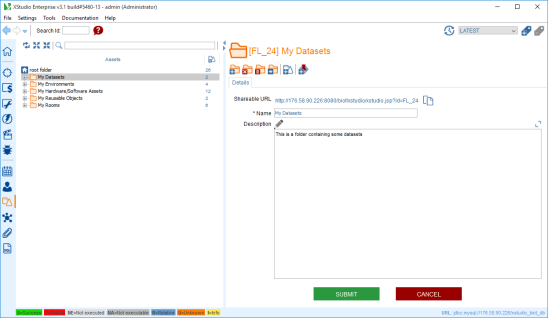
Toolbar
Create a folder
A folder can be created only under the root folder node or another folder node.Here is the process to create a new folder:
- select the root node
- on the right panel, click on the create folder button

- enter the name of the folder and submit
- the folder immediately appears in the tree
Delete a folder
You can delete a folder by just clicking this button
WARNING: deleting a folder will delete all objects linked to this folder (i.e. underlying folders and requirements etc.)
Empty a folder
You can empty a folder by just clicking this button
WARNING: emptying a folder will delete all entities linked to its children (i.e. underlying folders and requirements etc.)
Move a folder
You can move a folder by just clicking this buttonCreate an asset
An asset can be created only under a folder node.Here is the process to create a new asset:
- select a folder in the tree (create one if necessary)
- on the right panel, click on the create asset button

- a dialog box is displayed
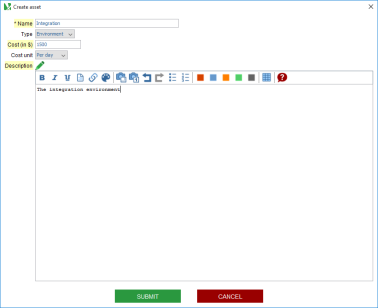
- enter the name of the asset
- enter the type of the asset.
- enter the cost of the asset.
- enter the cost unit of the asset.
- enter the description of the asset.
- click on submit
- the asset immediately appears in the tree
The assets nodes
Tabs
Details
The folder details tab allows one to specify the name, type, cost, cost unit of the asset and its description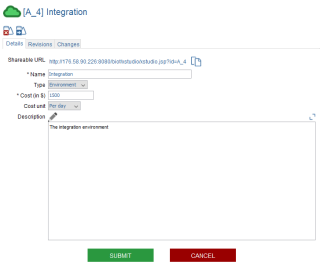
Revisions
This tab shows all the revisions made to a selected asset.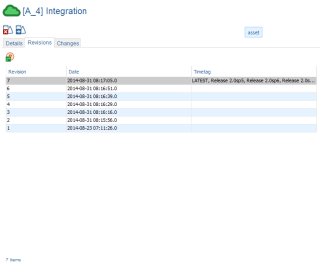
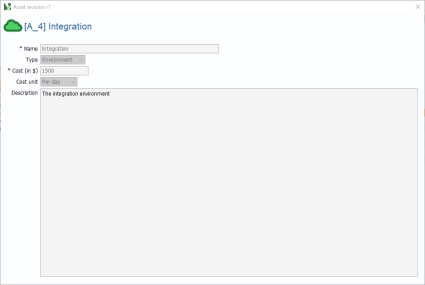
You can open a specific revision of the asset by selecting a revision in the list and clicking on the open button
Changes
XQual allows tracking any changes on a particular object.To check the history of an asset:
- select the asset in the tree
- open the Changes tab on the right panel
- the panel shows a table gathering all changes and when made
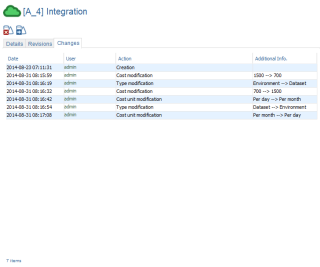
TIP: You can directly edit a user's details by clicking on his/her name in the changes table.
Toolbar
Delete an asset
You can delete an asset by just clicking this button
WARNING: deleting an asset will delete all items associated with it.
Move an asset
You can move an asset by just clicking this buttonSpecial case: the reusable test case
Additional tabs
Procedure
The creation of the test procedure of a reusable test case is exactly the same as the creation of a procedure of a standard test case except that you will not have the possibility to provide the parameter values.Indeed, you will be able to provide the parameter values when you reference this reusable testcase underneath a test.
This allows reusing the same reusable test case (the template) with different datasets.
Please refer to the Create a testcase chapter for more details.
Tests
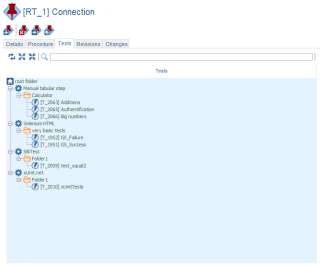
This panel displays all the tests referencing the current reusable test cases:- select the Reusable testcase
- select the Tests tab
- the test tree appears including in the right column, all the tests referencing the reusable test case.
