The users
Here is a typical user tree. It immediately shows a number of useful pieces of information:
- the total number of users
- the number of users in each company
- the number of users in each folder
- the status of the users (enabled/disabled indicated by the color of the icon)
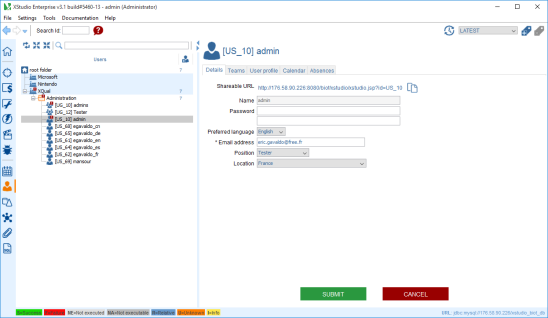
Hierarchies, working groups and teams can be easily managed in XQual by creating a structure of folders hosting users.
Create a company
This first thing to do is to create your own company. To do this:- in the tree, select the root folder
- on the right panel, click on the create company button

- enter the name of the company and submit
- the company immediately appears in the tree
Create a hierarchy in the company
Then, it's important to well define the working groups and teams in the company. This can be achieved by creating a complete tree of folders and sub-folders. To do this:- in the tree, select a company
- on the right panel, click on the create folder button

- enter the name of the folder and submit
- the folder immediately appears in the tree
Create a team
Now that you have a company with its internal organization defined, you're ready to create some users team.The users profiles give rights to give some actions while the teams give the visibility on certains parts of tree.
To create some users team:
- in the tree, select a folder
- on the right panel, click on the create team button

- a dialog box including three tabs is displayed
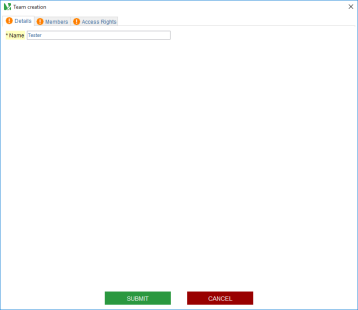
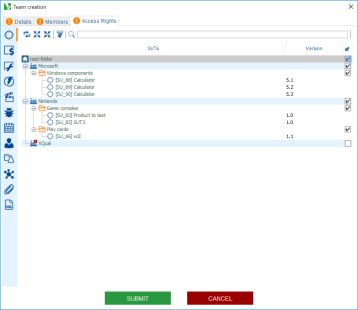
- fill in the Details tab with the team name.
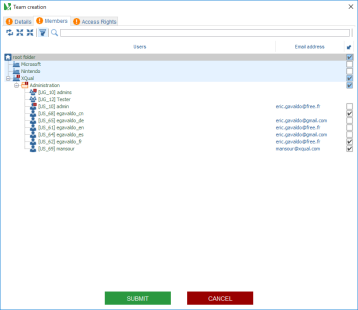
- click on the Members tab and select the members of team by clicking the corresponding checkbox (optional)
- click on the Access rights tab and for each module, select the access rights
- click on submit
- the team immediately appears in the tree
Create a user
Now that you have a company with its internal organization defined, you're ready to create some users. To do so:- in the tree, select a folder
- on the right panel, click on the create user button

- a dialog box including three tabs is displayed
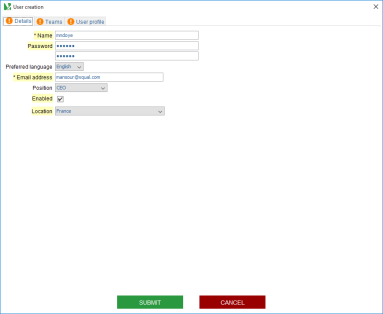
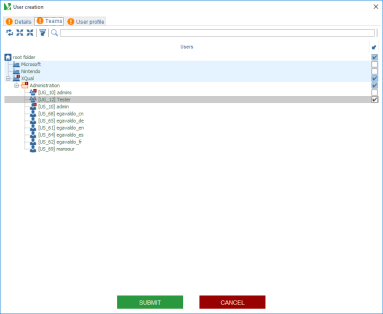
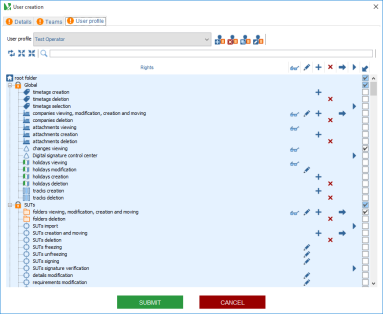
- fill in the Details tab with the user name, password, preferred language, email address, position and location. Do not forget to check the Enabled checkbox. A disabled user cannot login into the system.
- click on the Teams tab and select the group of user with check box
- click on the Profile tab and select the profile of the user in the user profile drop down list
- click on submit
- the user immediatelyappears in the tree
Note: the position field is useful in case your company needs to produce some ISO documents.
It takes its selectable values in the table
It takes its selectable values in the table
table_title so if you wish you can customize the titles or add new ones.
From now, you can exit XQual, restart and login (or just logout from the menu) with the new user credentials.
Register a LDAP user
If you enabled LDAP/Active directory in your settings, you can register some of your LDAP users in XQual. When these users will login, they will be directly authenticated on the LDAP/Active Directory server.:- in the tree, select a folder
- on the right panel, click on the register user button

- a dialog box including four tabs is displayed
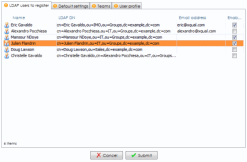
- select in the LDAP users to register tab all the users you wish to register using the Enabled checkboxes in the last column. Each new user you register will be counted in your license.
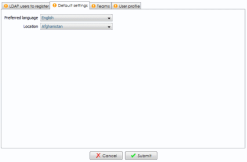
- click on the Default settings tab and select the preferred language and location for all the users you just selected
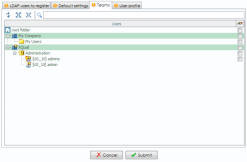
- click on the Teams tab and select which teams the selected users will be member of by default
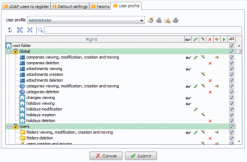
- click on the User Profile tab and select the default profile for all the selected users in the user profile drop down list
- click on submit
- the LDAP user immediately appear in the tree (they are recognizable as they have a different icon)
If you're using a SSL or TLS LDAP server, you'll need to import the server's certificate in XQual's settings.
Create a profile
To create a user profile:- in the tree, select a user
- on the right panel, click on User profile tab
- click on the create user profile button

- a dialog box is displayed
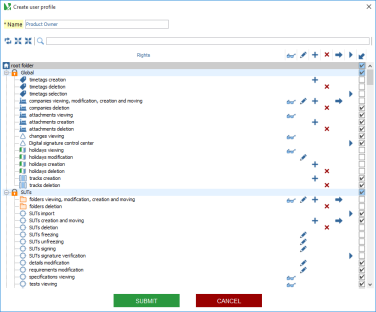
- enter the user profile name.
- select the rights in rigths tree by clicking on the corresponding checkbox
- click on submit
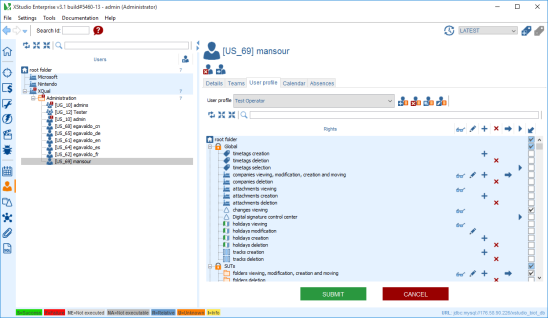
- Now, verify that the profile is well created by clicking on User profile drop-dow list
Submit a new absence
Each user can enter some absences. After submission, absences have the status new. Once the manager has set them as approved, the status changes accordingly. User's absences are visible by selecting the Absences tab: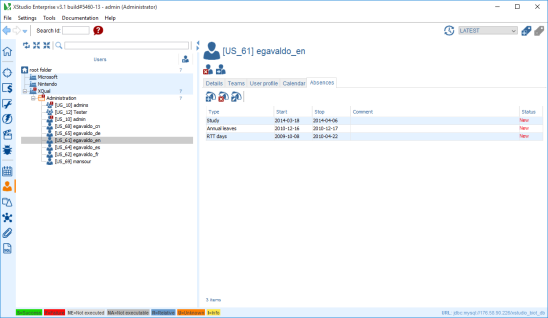
To enter a new absence:
- in the tree, select the user
- on the right panel, select the Absences tab
- press the create absence button

- enter the type, start and stop dates and optionally a comment and submit
- the absence immediately appears in the list

Edit an absence
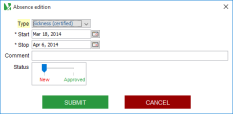
If you are manager (have the rights to approve absences), then you can edit an absence and change its status. To edit an absence:- in the tree, select the user
- on the right panel, select the Absences tab
- select an absence
- press the edit absence button

- enter the type, start and stop dates and optionally a comment and submit
- the modified absence immediately appears in the list
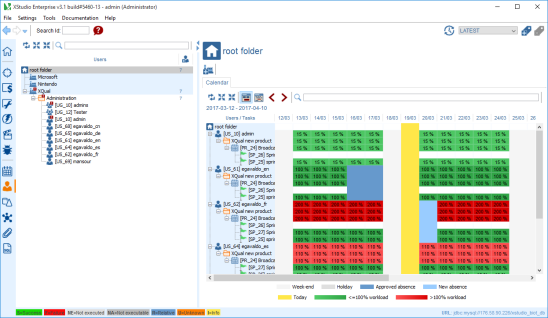
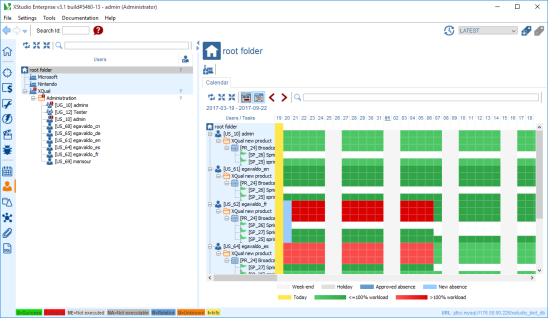
Check the calendars
- in the tree, select the root folder or a user
- on the right panel, select the Calendar tab
- the calendar is displayed. Two modes are available:
- Monthly mode
- Half-yearly mode
- You can select the mode by clicking on the appropriate toggle button:
- Monthly:

- Half-yearly:

- Monthly:
- You can also 'move' the calendar by using the arrow keys.
Changing admin password
password'. This is strongly recommended to change this
password as soon as possible. To do so:
- in the tree, select the admin user (XQual/Administration/admin)
- on the right panel (Details sub-tab), enter the new password, confirm and submit
Localization
XQual is entirely localized. There are currently 4 languages supported:- English
- French
- Italian
- Spanish
- German
- Chinese
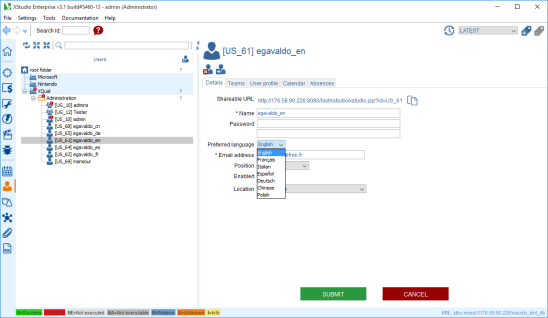
At the next login, the application will show up appropriately localized:
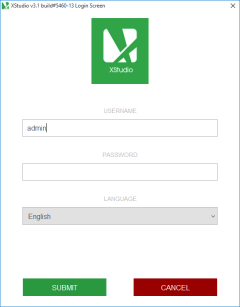
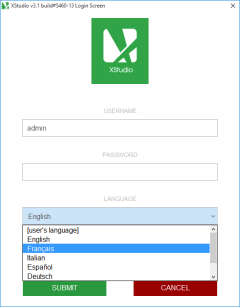
You can also override this setting during login by forcing a specific language:
