The SQL Reports
The Custom SQL report module allows querying the XQual database directly. Hence this is a very practical and powerful way to retrieve very detailed information in a very specific scope (when usual reports give more "standard" views).
Important: To use this module properly, the user must have some minimum knowledges in SQL and must understand the basics of the XQual database's schema.
There is a dedicated section in the Developer's Guide containing all the essential information about XQual database schema
There is a dedicated section in the Developer's Guide containing all the essential information about XQual database schema
Here is a typical SQL Report tree. It displays a number of useful pieces of information:
- the total number of SQL reports
- the number of SQL reports in each folder
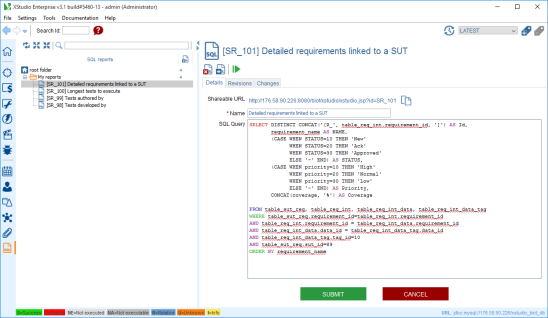
In addition, the reports output can be exported to Excel for further treatment if necessary.
Some default variables are available and can be used in the SQL queries:
- %currentUserId%
- %currentUserName%
- %currentAgentId%
- %currentAgentName%
- %currentTimetagId%
- %currentTimetagName%
- %currentDateTime%
The root node
Toolbar
Create a folder
A folder can be created only under the root folder node or another folder node.Here is the process to create a new folder:
- select the root node
- on the right panel, click on the create folder button

- enter the name of the folder and submit
- the folder immediately appears in the tree
The folder node
Tabs
Details
The folder details tab allows one to specify the name of the folder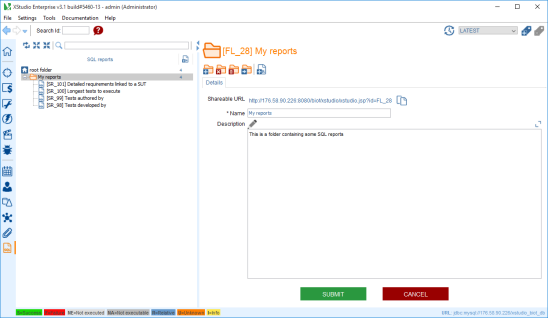
Toolbar
Create a folder
A folder can be created only under the root folder node or another folder node.Here is the process to create a new folder:
- select the root node
- on the right panel, click on the create folder button

- enter the name of the folder and submit
- the folder immediately appears in the tree
Delete a folder
You can delete a folder by just clicking this button
WARNING: deleting a folder will delete all objects linked to this folder (i.e. underlying folders and requirements etc.)
Empty a folder
You can empty a folder by just clicking this button
WARNING: emptying a folder will delete all objects linked to its childs (i.e. underlying folders and requirements etc.)
Move a folder
You can move a folder by just clicking this buttonCreate SQL report
A SQL report can be created only under a folder node.Here is the process to create a new SQL report:
- select a folder in the tree (create one if necessary)
- on the right panel, click on the create SQL report button

- a dialog box is displayed
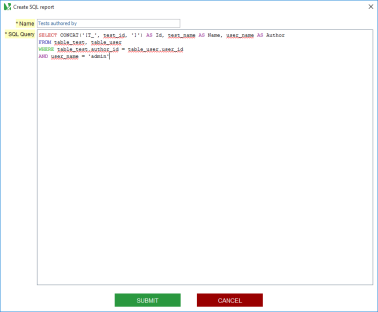
- enter the name of the SQL report
- enter the Query of the SQL report.
- click on submit
- the SQL report immediately appears in the tree
The SQL report nodes
Tabs
Details
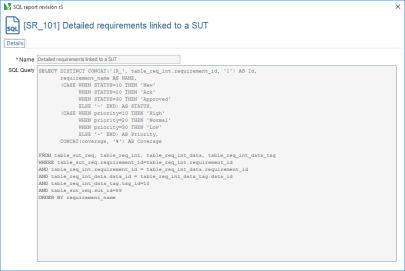
The folder details tab allows one to specify the name of the SQL report and SQL Query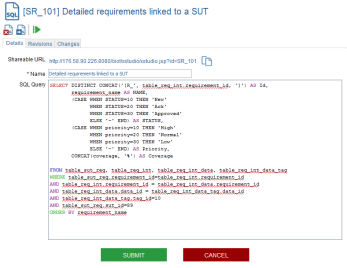
Revisions
This tab shows all the revisions of the selected SQL report.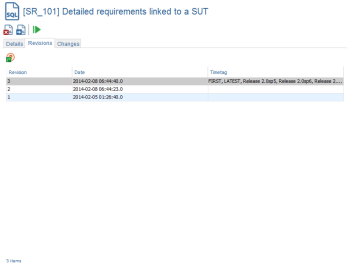
You can open a specific revision of the SQL report by selecting a revision in the list and clicking on the open button
Changes
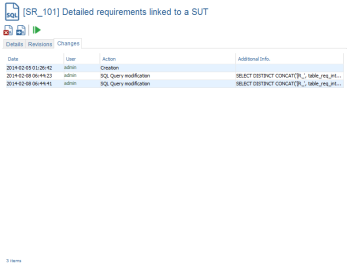
XQual allows tracking any changes on a particular object.To check the history of a SQL report:
- select the SQL report in the tree
- open the Changes tab on the right panel
- the panel shows a table gathering all the dated changes.
TIP: You can directly edit a user's details by clicking on his/her name in the changes table.
Toolbar
Delete a SQL report
You can delete a SQL report by just clicking this button
WARNING: deleting a SQL report will delete all items assoiciated with it.
Move a SQL report
You can move a SQL report by just clicking this buttonRun a SQL report
To run a SQL report:- in the tree, select the SQL report
- on the right panel, click on the start button
 to display the "Individual test execution" screen
 - the "Individual test execution" screen immediately appears and will display the results of your SQL Query
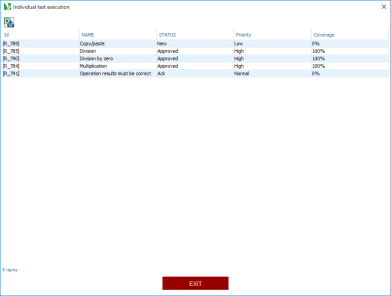
- click on Exit to close screen
From the output window, you can export the table to Excel by pressing the

